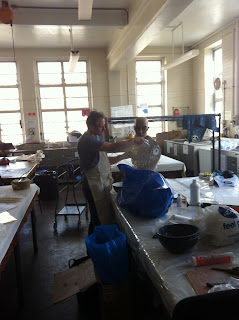
Materials needed:
- gray modeling clay
- tools
- scrim- soft hemp netting used for re-enforcement
- plaster
- water
- bowl(s)
- silicon -the tubes of clear silicon you get at a hardware store for caulking around you sink are perfect
can use modeling and painting tools for clay shaping. suggested that gray modeling clay is used.
Always take into consideration
-material
-skill
-need
-and time
first be sure to cover object in cling film
press clay on and smooth out
Add whatever designs you want by etching into clay or building up with more clay
put water in bowl- add plaster till you see islands forming. Plaster should be just think enough to cover and your hand but still thin enough to drip off.
flick first layer on, be sure to blow on it a bi to eliminate air bubbles
2nd coat it the re-enforcement, cover the 2nd coat with scrim. Dip scrim into the plaster and apply to clay. by doing this and giving it texture it will make the next layer hang on better
'rope' the edges of your clay, by making rope shapes with scrim and then putting around the edge.
the plaster shouldn't take to long to dry and you can then pry it off of the clay
be sure to pick the clay out of any crevasses
then fill your mold with silicon.
NOTE: paint can be added to clear silicon to give it colour, but it must be acrylic paint as water based paint will not mix with it. if wanted glitter could be added as well.
The silicon will take longer to dry. if it is hard to get out of the mold put it in water to get it out.


No comments:
Post a Comment